Digitising vinyl records: phono stage, levels, sample rate and click repair, done carefully
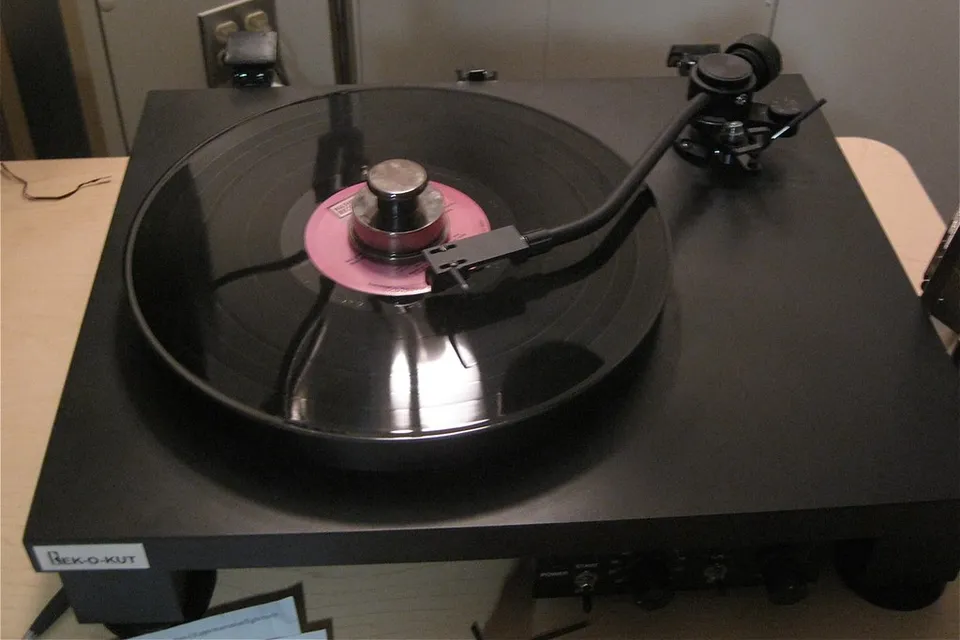
A Rek-O-Kut turntable with a record clamp, set up for disc transfers at Baylor University's Riley Digitization Center, home of the Black Gospel Music Restoration Project. Photo: cogdogblog, Flickr, CC0.
Of all the formats in a home archive, the record is the most forgiving to keep and the easiest to ruin in the transfer. A disc does not shed its coating like old tape, and a well-stored LP from the 1960s can still play beautifully. But every play wears the groove a little, dust becomes a crackle that is recorded for ever, and a wrong setting on the phono stage changes the tonal balance of the whole file. The aim is simple: one clean, careful play, captured with plenty of margin, and a master file you never have to make again.
Before you press record: clean, handle, inspect
Handle discs by the edge and the label only, never the playing surface, as the Library of Congress advises for all grooved discs. Fingerprints hold dust, and dust in the groove is what the stylus turns into clicks.
- Look first. Under a raking light, check for scratches you can feel with a fingernail, warps, mould spots and a cloudy film left by old sleeves. Note them: they explain noises you will hear later.
- Dry-clean every time. A carbon-fibre brush, held lightly on the spinning disc and drawn off towards the edge, lifts surface dust before each play.
- Wet-clean dirty discs. A dedicated record-cleaning fluid or distilled water with a few drops of a suitable surfactant, a soft brush following the grooves, then thorough drying. Keep the label dry.
- Know what the disc is made of. Most LPs and singles from the 1950s onwards are vinyl. 78s are usually shellac, which alcohol dissolves, so never use alcohol-based mixes on them; lacquer "acetate" home and studio discs are even more fragile and are best left to a specialist.
The turntable and the stylus
The capture can never be better than the playback. A deck that runs at the right speed, an arm set up with the correct tracking force and anti-skate, and a stylus that is not worn are the foundations, and our guide to reviving a vintage turntable covers each of them. Two points matter particularly for transfers.
Check the stylus before a big project, under magnification if you can. A chipped or worn tip does not just sound worse: it damages the groove walls of every record it plays.
78s need their own stylus. Their grooves are much wider than those of microgroove LPs and singles, so a standard LP stylus sits too low and rides in the debris at the bottom of the groove. Many cartridges accept interchangeable styli, and archives often try several tip sizes on a damaged 78 to find the quietest part of the groove wall.
The phono stage, and the RIAA curve
A magnetic cartridge produces a tiny signal: a few thousandths of a volt for a moving-magnet type, much less for a moving-coil one. It also comes off the disc with its tonal balance deliberately bent. Records are cut with the bass reduced and the treble boosted, which keeps grooves narrow and pushes surface noise down; on playback, the phono stage amplifies the signal and applies the opposite correction. That correction is the RIAA curve, which became the standard for records from the mid-1950s onwards.
In practice:
- Never plug a turntable straight into a line input or a computer's microphone socket. It will sound thin and quiet, and no amount of equalisation afterwards fully repairs a signal recorded far below the right level.
- Use a proper phono stage, the one in a good amplifier or a separate unit, matched to your cartridge type, and feed its line output to the audio interface.
- Older records are different. Before standardisation, labels used many different curves, so the RIAA setting is not automatically right for a 78 or an early LP. Archives handle this by capturing such discs flat, without any correction, and applying the right curve in software, where it can be changed. If you only have an RIAA stage, note on the file that it was used.
A built-in phono stage on a USB turntable will work, but its converter is often modest. If your transfers matter, feeding a good analogue phono stage into a decent audio interface is usually the better route, as it is for tape transfers.
Levels, bits and sample rates
Record at 24 bits. The extra dynamic range means you do not need to push the level close to the top: leave generous headroom, with the loudest passages peaking well below full scale, because the sharp transient of a click can be far louder than the music around it. A clipped click cannot be repaired cleanly; a click recorded with room to spare can.
For the sample rate, IASA's technical guidelines (TC-04) recommend at least 48 kHz and 24 bits for preservation copies of analogue material, and many archives use 96 kHz. The higher rate costs only disk space and gives click-repair software more detail to work with. Your listening copies can be converted to anything later; the master cannot be improved after the fact.
Before the first real capture, play a quiet passage and the run-in groove and listen for hum. A turntable earth lead that is not attached to the amplifier's ground terminal, or a laptop on its charger, is the usual culprit, as our guide to tracing hum and buzz explains.
Capture whole sides, then split
Record each side in one pass, from the lead-in groove to the run-out, rather than track by track. Starting and stopping between songs risks cutting off the first note, and the gaps are easy to find afterwards in an audio editor.
- Keep the run-in and run-out in the master file. They are a reference for the disc's surface noise, which some restoration tools use.
- Capture mono records in stereo. You can sum the two channels later, or keep the quieter one if a groove wall is damaged; you cannot recover the second channel once it is thrown away.
- Write down the details: label, catalogue number, side, speed, stylus, phono curve and date. Our guide to digitising a home music archive explains naming, metadata and backups.
Repair clicks on a copy, never on the master
Save the raw capture as an uncompressed WAV or a lossless FLAC file and treat it as the master. Do all restoration on a copy.
Modern de-click tools are effective on isolated clicks and continuous crackle, but they are also easy to overuse: pushed too hard, they remove the attack of plucked strings, cymbals and consonants along with the noise. Work gently, compare with the master at the same volume, and stop when the music still sounds alive. Leave broadband hiss and rumble alone unless they really get in the way; their removal has the most audible side-effects.
Speed problems are better fixed at the source than in software. If a disc was pressed slightly off-centre, it will "wow" no matter what; if every disc sounds sharp, check the deck's speed first.
Storing the discs afterwards
A good transfer is not a reason to throw the originals away. The Library of Congress recommends keeping discs upright on their edge, supported by firm dividers, away from heat and sources of vibration, with discs of different diameters stored separately. For home collections it suggests a cool, relatively dry and stable room, avoiding attics and basements. Replacing tired paper inner sleeves with anti-static polyethylene ones keeps the clean surface clean.
Sources
- Handling and storage of grooved discs, and environment for home collections: Library of Congress, Preservation, "Care, Handling, and Storage of Audio Visual Materials".
- Purpose of record equalisation, adoption of the RIAA curve and the earlier variety of curves: Wikipedia, "RIAA equalization".
- Sample rate and bit depth for preservation transfers of analogue sources: International Association of Sound and Audiovisual Archives, IASA-TC 04, Guidelines on the Production and Preservation of Digital Audio Objects, 2nd edition, 2009.
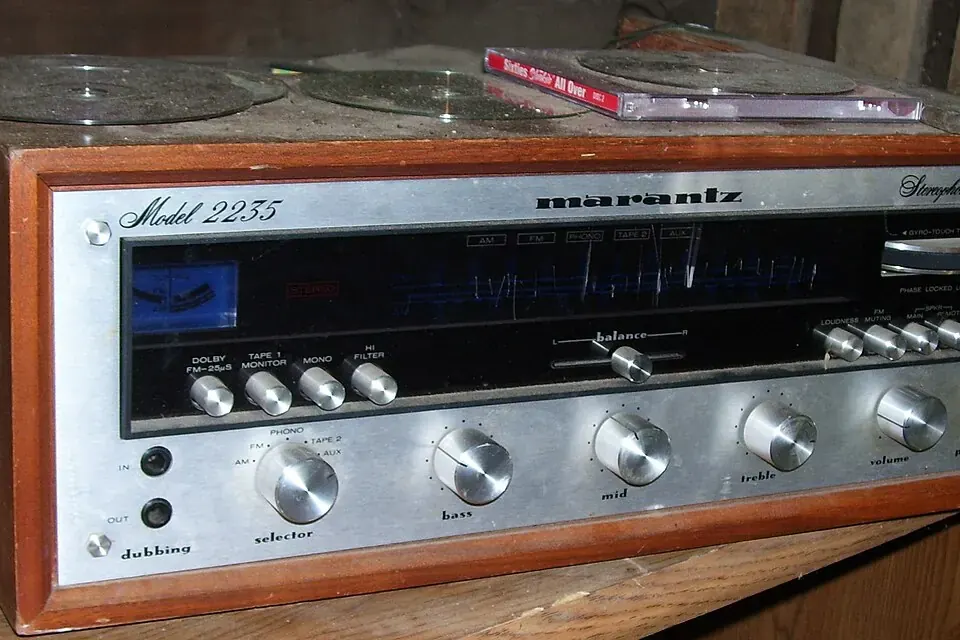 On the bench
Reviving a vintage turntable
Belts, idlers, speed, stylus wear, tracking force and alignment: a careful order of work before the first record goes on.
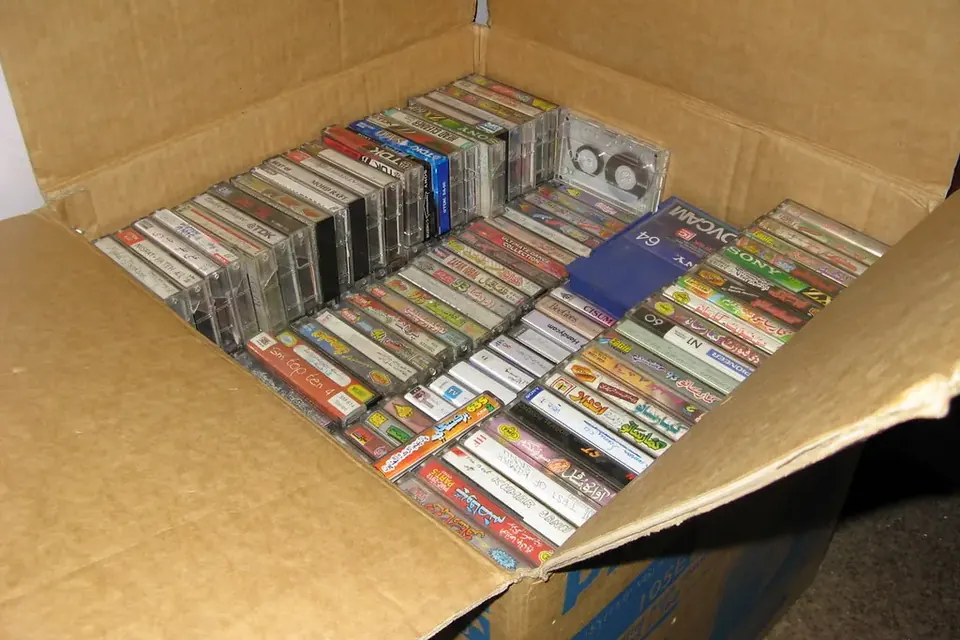 Recording & transfer
Digitising a home music archive
Sort, prioritise, capture once, name it well, keep three copies. The plan behind every transfer guide.
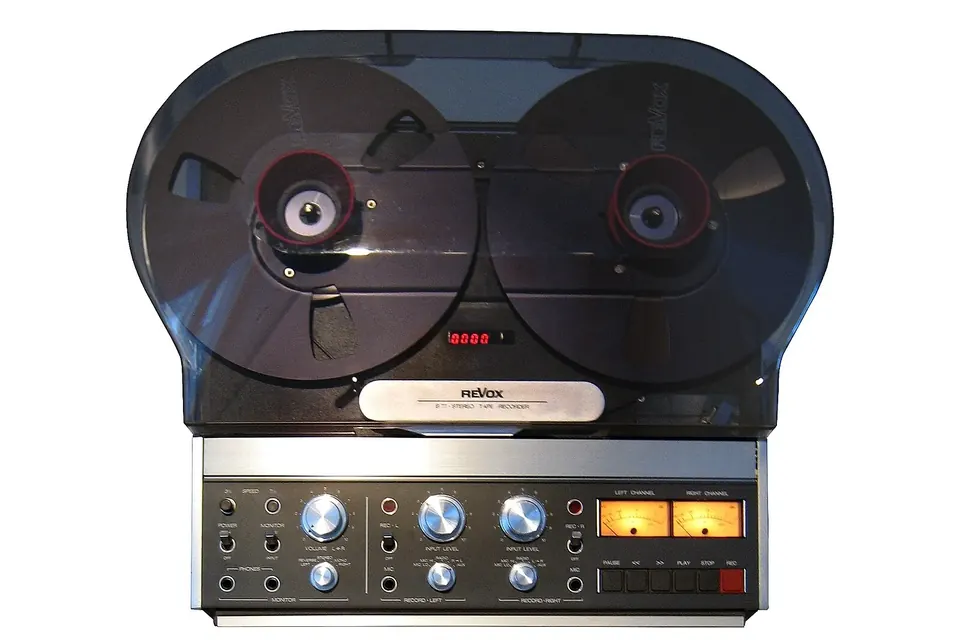 Recording & transfer
Reel-to-reel and cassette to digital
Check the tape first, set azimuth by ear, decode noise reduction correctly, capture at 24 bits.